
Jason Lebeau
Jason is the owner of Mrwalls Drywall & Painting and has been working in the drywall and painting trade since 2001.
Jason is the owner of Mrwalls Drywall & Painting and has been working in the drywall and painting trade since 2001.
How To Paint A Popcorn Ceiling. A Guide on getting the materials, tools, planning, and painting a popcorn ceiling. Sealing brown water stains and painting the ceiling with white latex ceiling paint.
Painting a popcorn ceiling requires special techniques due to its textured surface. The bumpy, irregular texture can make achieving even coverage difficult, and the wrong approach can damage the texture or leave visible roller marks. Whether you're refreshing an old ceiling or covering water stains, choosing the right method and materials is crucial for professional results.
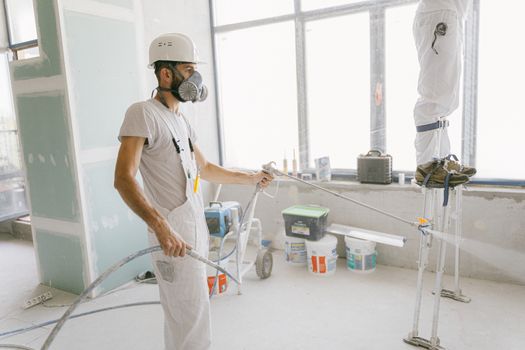
Airless spraying is the gold standard for painting popcorn ceilings. This method delivers a smooth, even coat without disturbing the texture. The spray reaches into all the crevices and bumps, providing complete coverage in less time than rolling. However, it requires more preparation—you'll need to mask off walls, fixtures, and floors thoroughly. Spraying also requires proper ventilation and protective equipment.
Rolling a popcorn ceiling is possible but more challenging. Use a thick-nap roller (3/4" to 1" nap) designed for textured surfaces. The main drawback is that rolling can pull or flatten the popcorn texture, especially if you press too hard or go over the same area multiple times. Rolling also takes longer and may require multiple coats to achieve even coverage. If you choose to roll, work in small sections and apply light, even pressure.
For best results, airless spraying is superior for popcorn ceilings. It's faster, provides more even coverage, and won't damage the texture. Rolling is acceptable for small areas or touch-ups, but expect to spend more time and effort achieving comparable results.
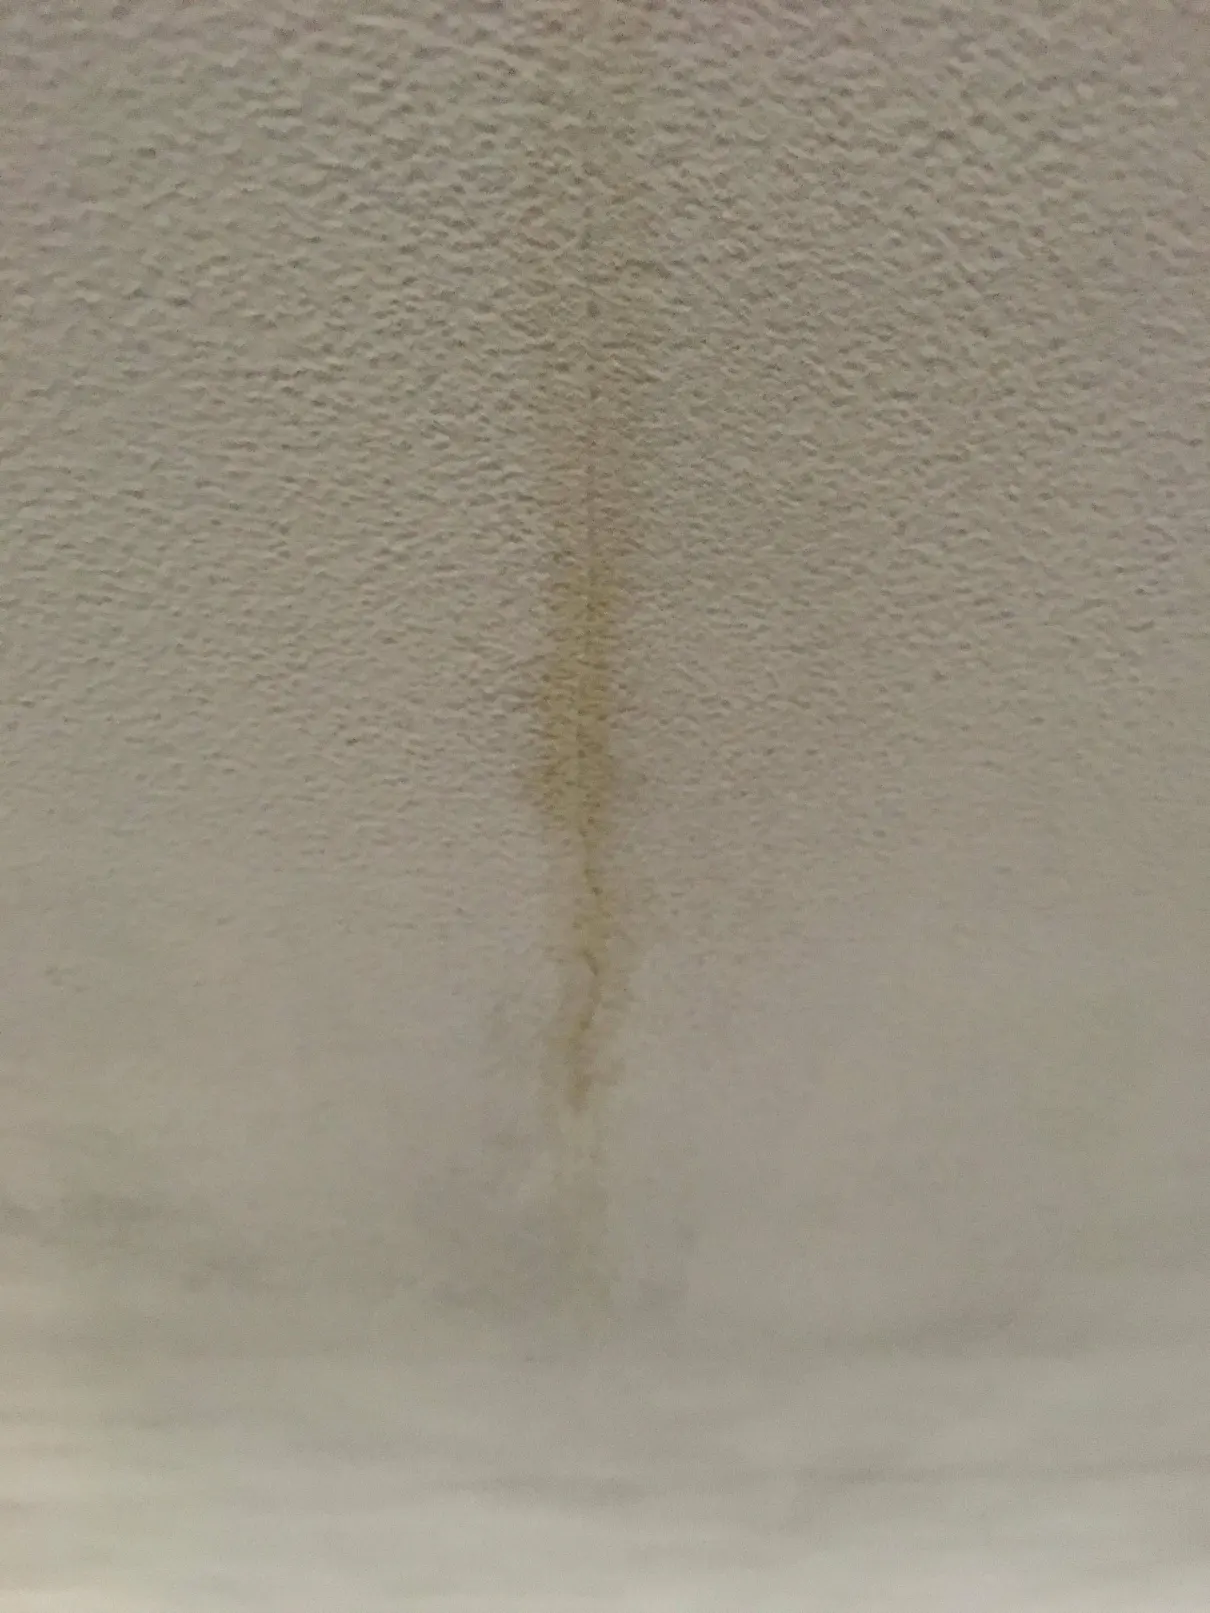
Before applying latex ceiling paint, you must seal any brown water stains with an oil-based primer. Water stains will bleed through latex paint, ruining your fresh coat. Oil-based primers like Kilz Original or Zinsser BIN create a barrier that prevents stain bleed-through. Apply the primer directly to the stained area, extending slightly beyond the visible stain. Allow it to dry completely according to the manufacturer's instructions—typically 1-2 hours.
Water-based primers won't block water stains effectively. The tannins and minerals in water stains will reactivate and seep through latex products. Oil-based primers seal the stain permanently, ensuring your white ceiling paint stays bright and clean. Once the primer is dry, you can proceed with your chosen painting method—spraying or rolling with white latex ceiling paint.
Always fix the source of water damage before painting. Ensure the ceiling is completely dry and clean before priming. Work in good lighting to spot missed areas, and maintain a wet edge to avoid lap marks. With proper preparation and technique, you can achieve a professional-looking finish that will last for years.
Paragraph
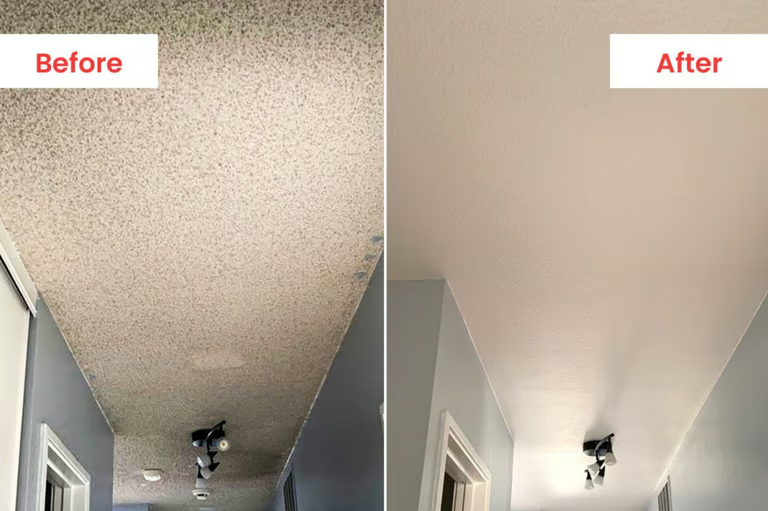
How To Prepare For Popcorn Ceiling Repair. A Guide on getting the materials, tools, and planning to repair a popcorn ceiling.
Cottage Cheese Ceiling Texture Removal in Western Mass. Cottage cheese Ceiling Repair and Cottage cheese ceiling removal throughout Western Mass Call for a free estimate.(413)302-0640